It got to 70 degrees today and my porch was looking a little winterized. I needed some green out there! So, I went out to get some daffodil bulbs. I ended up getting those and also getting some other bulbs and some pansies to fill in where the snow has gotten some of them. They were ultra cheap and will perk things up until the spring bulbs come up.
I already have bulbs around my crepe myrtle and they are poking up. My bed in the front of the house is looking a little beaten down. I hope my Lenten roses come back. I haven't even looked around out back, but some of the bulbs I got today are for an area back there.
I also saw
this post and was instantly drawn to the chicken feeder planted with bulbs. All afternoon long, my mind kept going back to that image. Lissa's home is so beautiful and I give
Humble Pie a peek daily.
So, I went on with my day and was finishing up my potting this afternoon as the boys played outside. I looked in the garage for something that was rectangular. No such luck. I had a quick inspiration - I would go to the local thrift store and give myself five minutes to streak through and see if I could find something that would work.
While inside, I found some fake terra cotta planters that were made of stiff foam. Not quite it. I was praying for God to guide me where I needed to go in the maze of booths. That is when I found this.
About 16 inches long and 4 inches wide. Some kind of brass finish, though it wasn't solid brass. The finish was in good shape, but there were spots that wouldn't buff out, so I decided to paint. I thought white with some glaze would bring out the details. Since the boys were playing well together, I decided to give it a go.
Here it is primed. I liked it so much, I thought about leaving it that way.
Then I decided to have a look at the bottom and maybe give it a few squirts of paint. Glad I did...

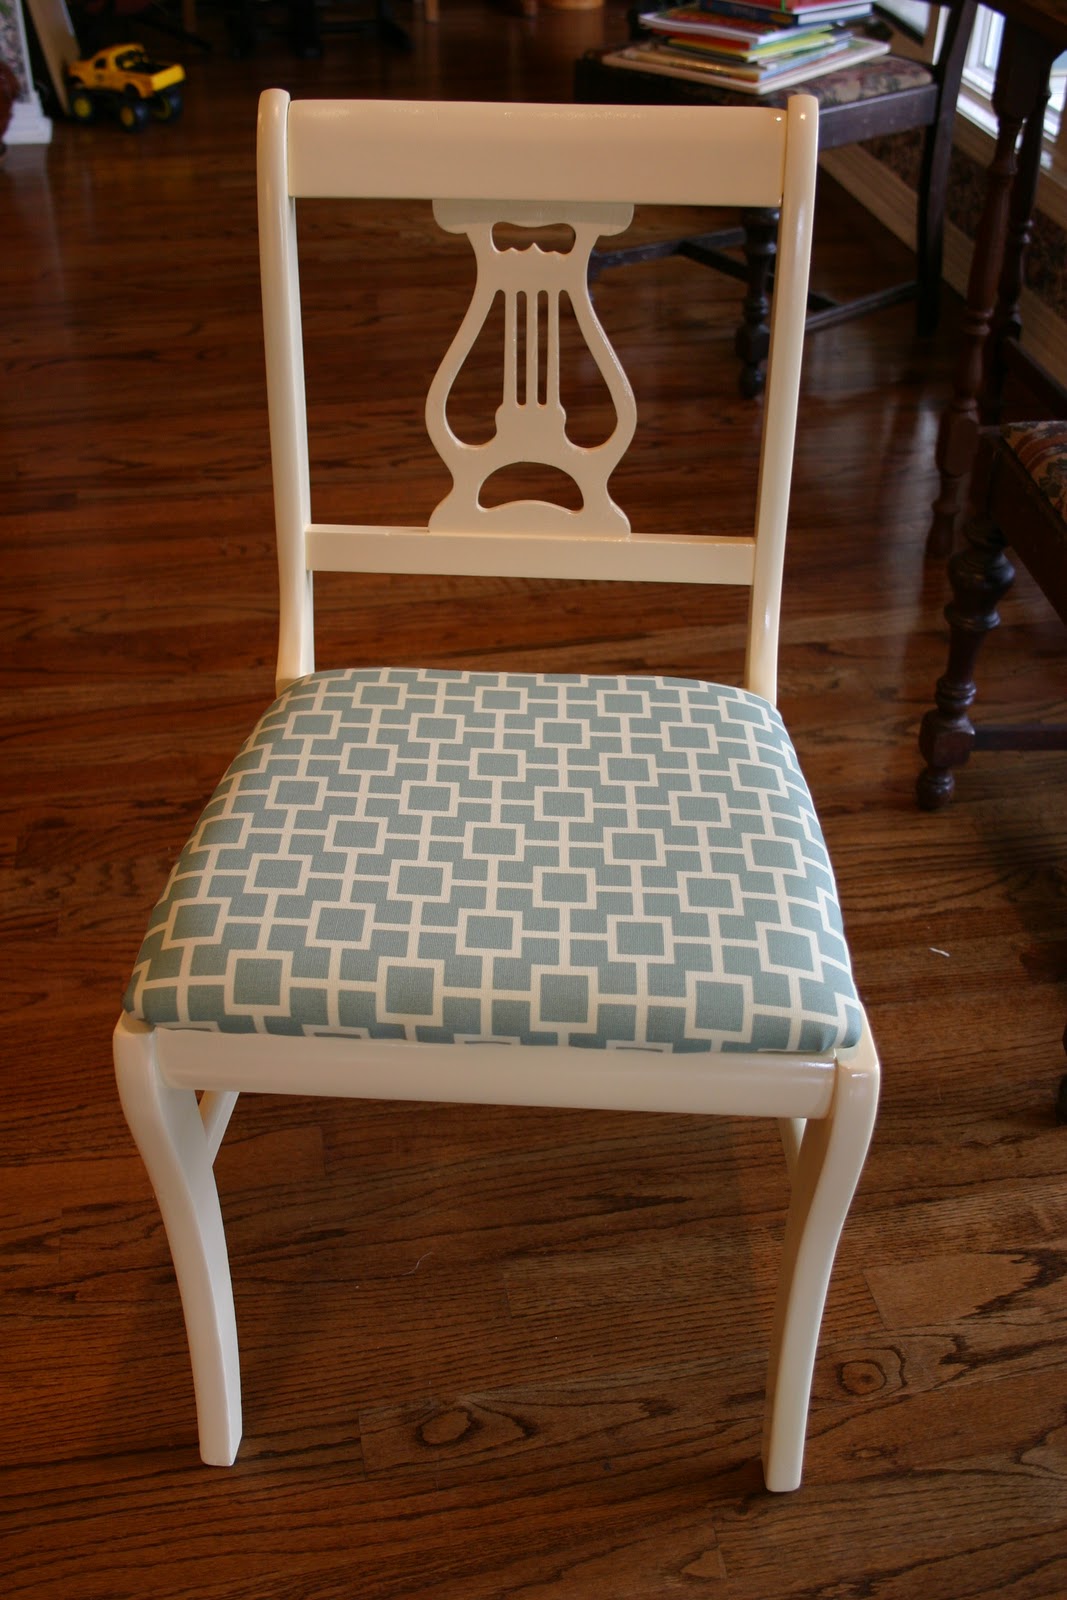
Since I had some cream colored spray paint from my music chair project, I used that and immediately liked the warmer tone. Balancing the planter on another spray paint can was really helpful.
Now to decide what kind of glaze to add. I want to give it about 24 hours before glazing. The painting steps are quick and simple. It is the waiting between steps that takes patience. I'm thinking a blue/grey tone for the glaze. It won't take much - just to make the corners and details around the rim pop.
And, after all that playing, Jackson Wynn came in and made a nest. He was asleep within minutes. John Campbell snacked around some and then headed into the bedroom. He's eating a lot lately - definitely going through a growing spurt.
My sweetie pie!!!